
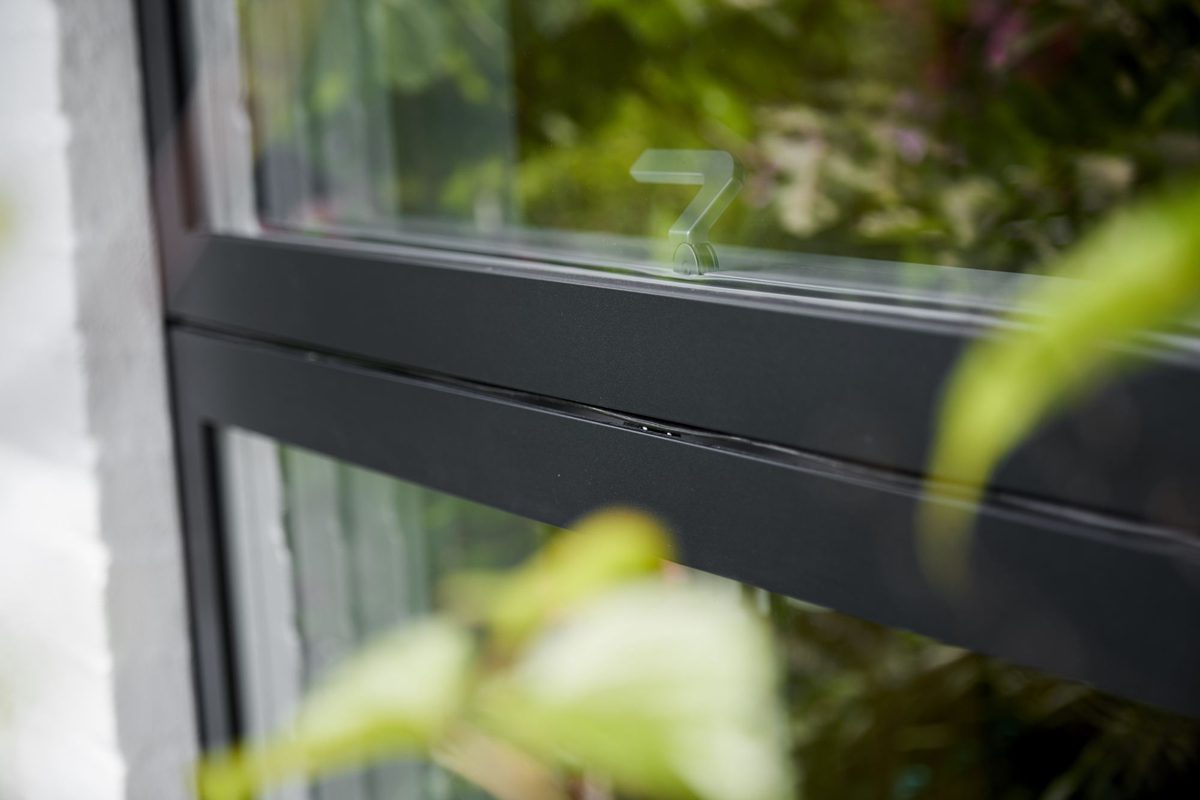
How Are Windows Fitted in a Timber-Frame or SIPS House?
Windows in a timber-frame or SIPs house need to be coordinated with the structural system and the layers forming the external wall. SIPs are structural insulated panels: the precise panel construction and opening details depend on the system selected. The finished glazing may resemble a window in a masonry house, but the construction behind its reveals can be quite different.
The useful starting point is an agreed connection between the window and the building. That includes position, support, fixings, movement, insulation, airtightness and rain protection, together with a workable installation sequence. For a self-build in Wiltshire or an extension in Bristol, resolving those connections early gives the architect, structural designer, builder and glazing team a shared detail to work towards.
Identify the Wall System Before Detailing the Window
Begin by identifying the actual wall construction, including the structural system and the layers inside and outside it. Timber frame and SIPs are broad descriptions rather than complete installation specifications. Even within one construction type, the opening arrangement, insulation strategy and external finish can vary. A photograph of a similar completed house will not establish how your window should be fitted.
The external appearance can be particularly misleading. Stone, brick, render or timber cladding tells you something about the elevation, but does not necessarily identify the structure supporting the window. Ask for a section through the proposed wall and opening, with the relevant components named. In an existing house, available records and a suitable survey help establish what is actually present.
The Structural Timber Association’s SIPs Pocket Guide makes an important distinction between generic guidance and individual systems. Different SIP products have their own construction details, and the designer and constructor should consult the SIP company about requirements that vary. Treat that distinction as a reason to obtain the right information before finalising an order.
For the homeowner, the immediate question is who brings those documents together. An architect may coordinate the overall detail, while the system provider and glazing manufacturer contribute their requirements. Agree that route explicitly. It avoids a situation in which everyone has information about their own component but no one has checked the junction between them.
Coordinate the Structural Opening and Window Position
The structural opening and the window size need to be considered together, with appropriate installation allowances determined for the project. Dimensions should refer to a clear, agreed stage of construction. An opening measured before linings or other components are installed may describe something different from the finished opening shown on an interior drawing. The order needs an unambiguous dimensional basis.
Position within the depth of the wall is another design decision. It affects the internal reveal, the external recess and the connections to surrounding construction. A deep internal sill might be desirable for the room, while an external recess contributes to the elevation. Those preferences belong in the discussion alongside the performance and installation requirements, rather than being settled independently.
Manufacturer information can help make the conversation concrete. VELFAC’s technical resources, for example, distinguish product drawings from structural interface drawings covering heads, cills and jambs. Its installation guidance is intended to be used alongside relevant project or interface drawings. The principle is to connect information about the window with information about the building around it.
Before manufacture, establish which drawing revision controls the opening and who confirms readiness on site. If a structural dimension or cladding build-up changes, the consequences for the glazing should be reviewed before that change becomes physical work. A short coordinated check can be much easier to manage than a delivered window and an opening that no longer agree.
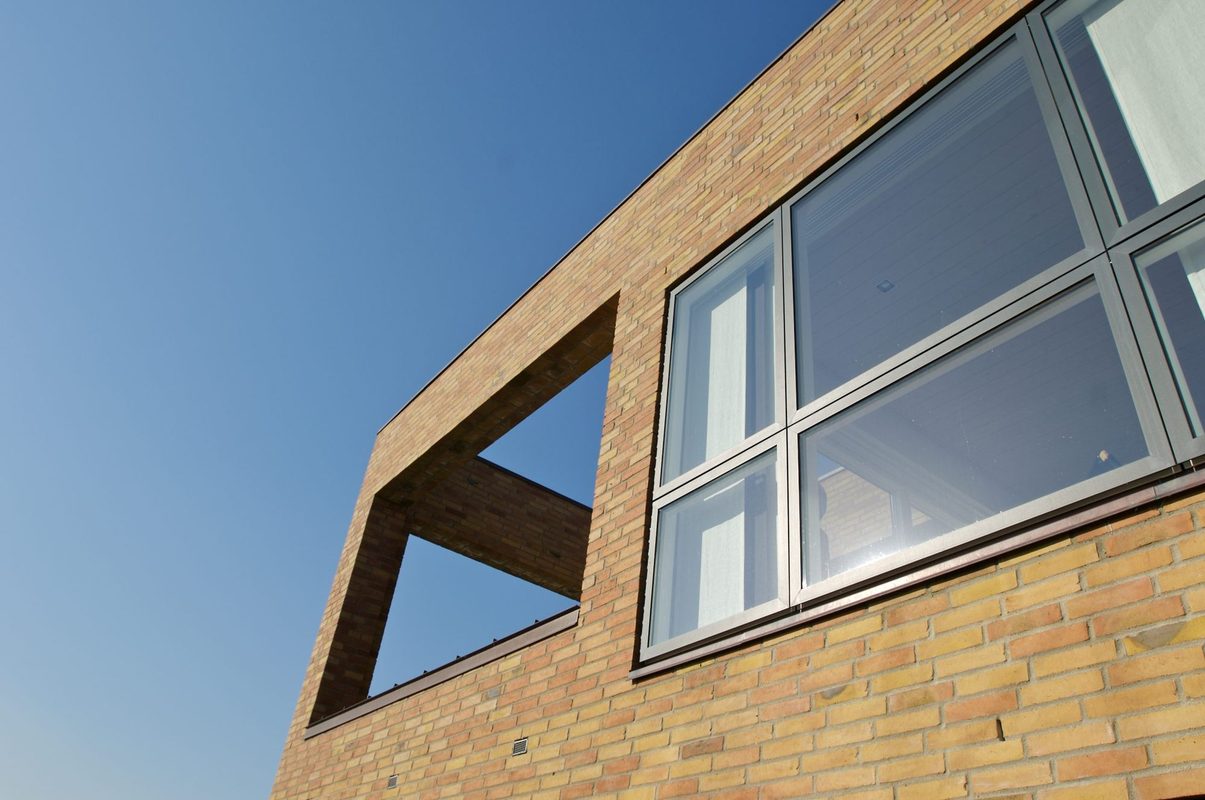
Agree Support and Fixings With the System Designers
A window needs an appropriate means of support and attachment to the building. The relevant detail depends on the window, the structural opening and the system’s permitted fixing arrangements. Its size and configuration matter too. A detail developed for one opening should not simply be repeated across larger or differently configured glazing without the responsible designers confirming its suitability.
Ask where the frame is intended to be supported, what it is being fixed into and whose information establishes those arrangements. The answer should connect the glazing requirements with the structural design. This is especially useful when a window projects relative to the structure or when the proposed position makes the attachment less obvious from the room or elevation drawings.
For a homeowner, this is a coordination question rather than a request to choose screws or design brackets. Fixing centres, edge distances, support components and any local reinforcement need the actual system information. A site team encountering a mismatch should refer it through the agreed design route. Cutting a panel or moving a fixing location can affect more than the visible fit.
Record who checks that the opening is ready and who resolves discrepancies. A builder may prepare an opening, a specialist may install the window and an engineer may need to approve a changed support arrangement. Those roles can coexist, provided the responsibility between them is clear. The practical aim is an approved, buildable detail that the installer can follow.
Allow for Movement Between the Frame and Cladding
Different parts of a wall can change dimension differently, so the installation must accommodate the movement anticipated by its designers. Timber-frame structures, windows and external cladding do not necessarily move together. The amount and location of any allowance depend on the actual construction. It is therefore unhelpful to borrow a gap dimension from another house without checking the assumptions behind it.
Consider a window connected to the structural frame with a separate masonry outer face around it. The design team needs to resolve how those components relate as movement occurs. A joint can look slightly generous before later finishes are complete and still have a deliberate purpose. Conversely, an attractive trim does not demonstrate that the underlying movement requirement has been addressed.
The STA guide identifies differential movement as a consideration at window sills and other interfaces. The homeowner’s useful question is how the project’s detail deals with it, including the materials and adjoining work. Avoid asking a finishing trade to fill every visible allowance simply to make the opening appear tighter. Any proposed change should be checked against the design intent.
Movement also needs to remain understood after installation. Cladding, plaster, joinery and decorative work should follow the agreed junction rather than unintentionally obstruct it. Record any parts that must remain flexible or clear, and pass that information to subsequent trades. This gives a neat finish a better chance of remaining compatible with the way the building is expected to behave.
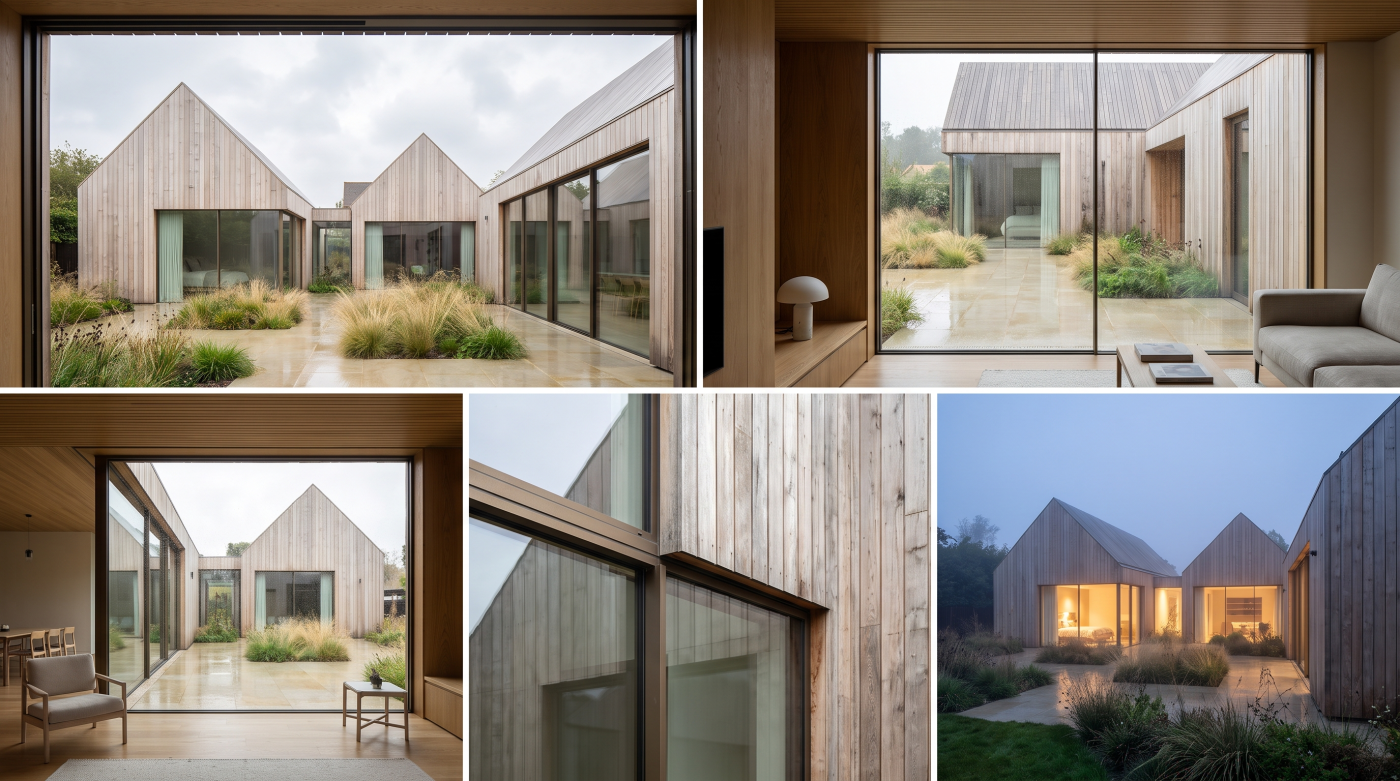
Connect the Insulation, Airtightness and Vapour-Control Layers
The window perimeter has several jobs. Insulation limits heat flow through the surrounding construction; an airtight connection limits uncontrolled air leakage; vapour-control provisions form part of the wall’s moisture strategy. These functions need to be identified separately even where a particular component contributes to more than one. A strip of material labelled as a seal does not explain the whole arrangement.
Ask the designer to show where the relevant layers meet the frame at the head, sides and sill. A drawing should make the intended connections understandable, including changes of direction and awkward corners. For the installation team, the detail also needs enough practical access to form those connections. A solution that cannot be reached at the planned stage needs reconsideration before work proceeds.
Air control does not automatically mean vapour resistance. For example, A. Proctor Group’s FramePro W1 guide describes an airtight, vapour-permeable membrane and provides its own opening details. This illustrates why the properties and instructions of the chosen system matter. It does not establish a membrane arrangement suitable for every timber-frame or SIPs wall.
Similarly, DuPont’s AirGuard installation guidance addresses continuity at laps, junctions and penetrations for its products. Confirm who forms and checks the specified connections on your project. Window performance figures alone do not verify these surrounding layers, and an eventual whole-building test does not remove the value of inspecting accessible junctions before they are concealed.
Detail Rain Protection, Sills and Cladding Interfaces
Rain protection needs to be resolved around the opening as well as within the window itself. The frame, external sill, wall membranes, cladding and drainage provisions must work together in the selected construction. Start with the complete detail at the head, jambs and sill. Concentrating only on the visible external seal can leave important questions about the adjoining wall unanswered.
In England, Approved Document C provides guidance on resistance to moisture, including wall-to-window junctions. Its principles need to be applied to the relevant construction rather than converted into a standard masonry detail for every system. Ask the project designer to confirm the applicable approach and its relationship with the selected manufacturer’s instructions.
The external sill deserves its own review because it connects the glazing with the face of the building. Its shape, projection, ends and junctions need to suit the approved arrangement. The cladding contractor also needs to understand the required interface. Where cavity barriers, fire-stopping or other fire provisions are relevant, those details need coordination within the project’s fire and wall design.
A stone-clad Cotswold self-build, for example, may combine a traditional-looking elevation with a modern structural system. The appearance is only one part of the brief. Ask who completes the weathering around the window, who checks adjoining work and what protection is needed while that work remains unfinished. Those answers should be available before the opening is covered by final finishes.
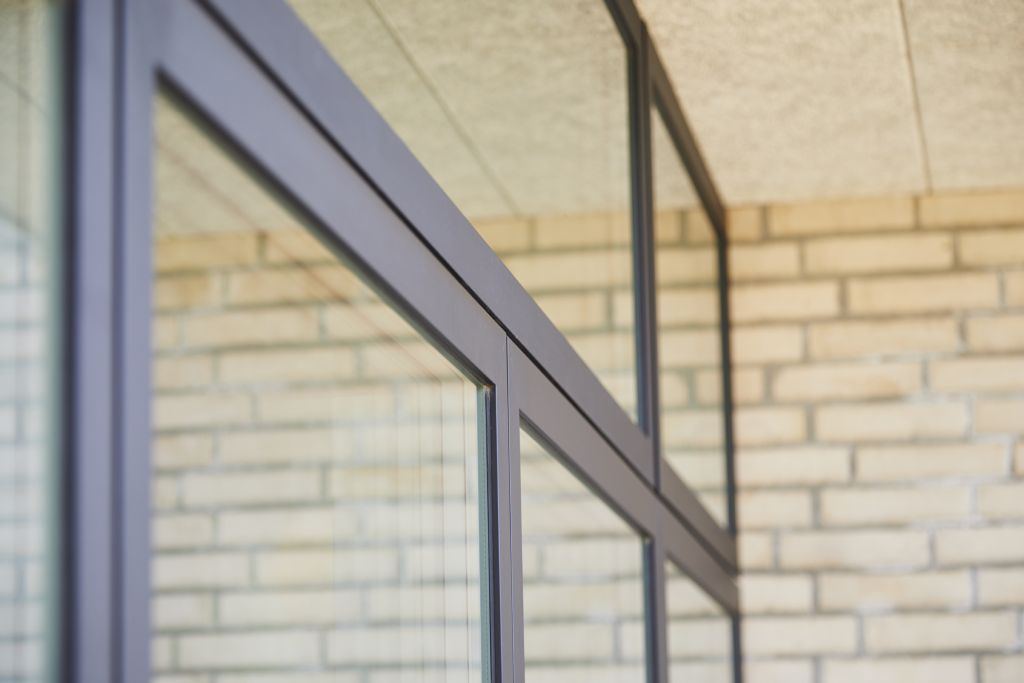
Sequence Installation, Inspection and Internal Finishes
Installation sequencing determines when the opening can be checked, when the window can be fitted and when other trades can close the surrounding construction. Agree those stages with the actual project team. A programme copied from another build may assume a different wall system, delivery arrangement or division of work. The useful sequence is the one that fits your approved detail.
Before the fitting date, confirm what opening preparation is included and what another contractor must complete. Establish how readiness is reported and how discrepancies are resolved. Delivery and storage need attention too, especially if the windows arrive ahead of installation. The responsible team should explain the handling and protection arrangements for the products actually being delivered and the conditions on site.
Include inspection points before junctions are concealed by internal linings or external finishes. Ask what needs to be seen, who will inspect it and what records will be retained. Photographs can support that record, but they need useful locations and context. They are not a substitute for the inspection or approval that a particular concealed detail may require.
Internal work should follow confirmation that the relevant preceding stages are ready. That includes addressing any moisture or damage identified by those responsible for the structure and materials. Homeowners need not prescribe a drying period or assess a panel themselves. They should be able to identify who confirms readiness and how a delay will affect the next trade’s work.
Record the Agreed Detail and Handover Responsibilities
Keep a coordinated record of the window schedule, opening details and approved changes. It should be possible to establish which version was used on site and how any departure was resolved. This is particularly valuable when several organisations contribute different parts of the installation. A verbal agreement made during a busy delivery can otherwise be difficult to reconstruct later.
At handover, separate the window’s completion from adjoining work that remains with someone else. Confirm the operating demonstration, care information and relevant installation records, alongside outstanding cladding, reveal or decoration tasks. A finished frame does not establish that every surrounding trade has completed its package. Equally, unfinished decoration does not by itself establish a fault in the window.
For an existing timber-frame or SIPs house, retain information that will help future repair or replacement. A later contractor benefits from knowing the system, frame position and relevant junction details before opening up finishes. Where records are incomplete, acknowledge that uncertainty rather than presenting an assumed construction as established fact. Future alterations should be assessed through an appropriate professional route.
CBP’s role as an architectural glazing and specification partner is relevant to these early conversations between glazing choices and the wider design. For homeowners and architects across Bath, Wiltshire, Somerset, Bristol and the Cotswolds, the useful brief identifies both the desired window and the information needed around it. The result is a clearer basis for specification, installation and eventual handover.