
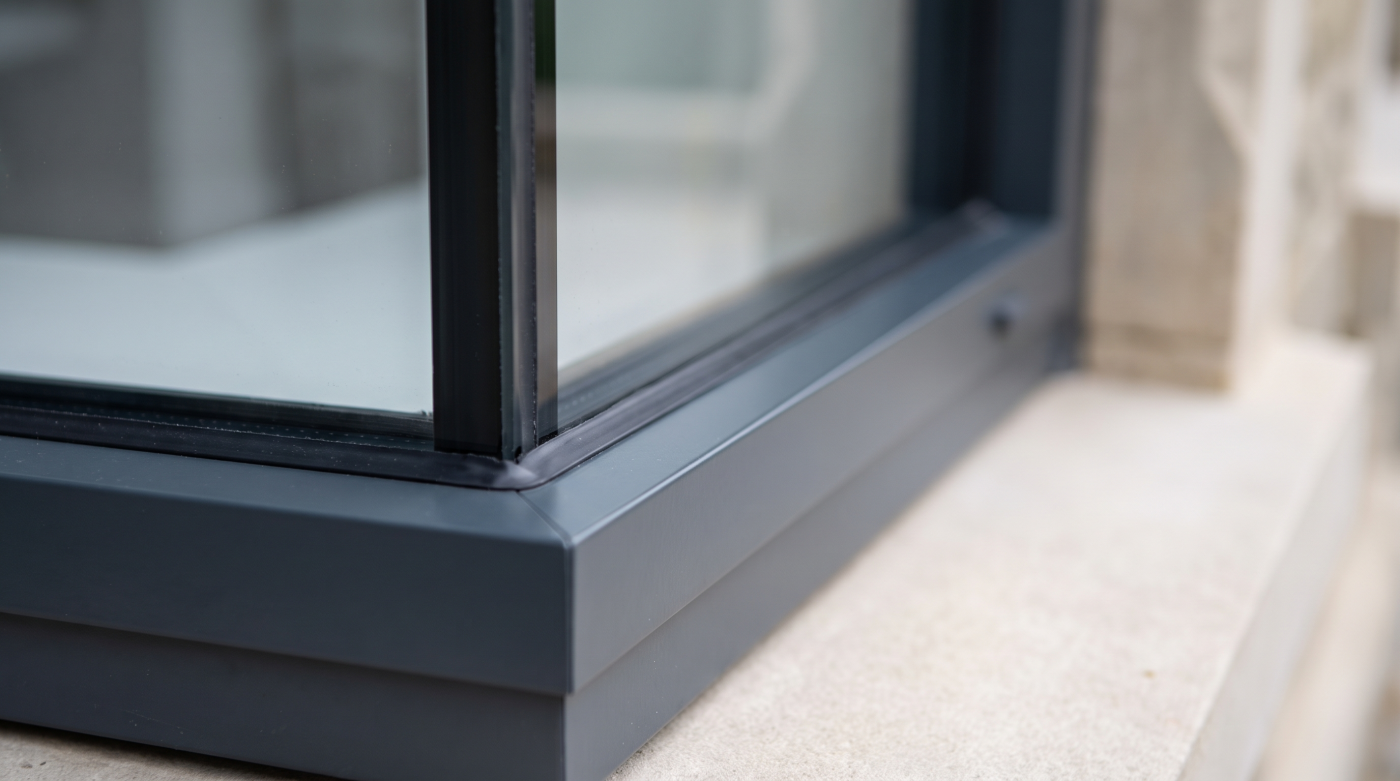
1. Begin where you actually feel uncomfortable
Choose the room and position where the cold is most noticeable. It might be a chair near a bay, a bed beside an external wall or a desk facing a window. The starting point matters because discomfort is experienced in a particular place, not as an average temperature across the house.
Before beginning the five one-minute checks, note the weather and the time. Is the sensation present on still days or only when the wind rises? Does it appear in the morning, when the heating first comes on, or late in the evening? A cold surface can make a person feel uncomfortable without a strong movement of air. An actual draught may come from the window, its surrounding wall or another route altogether.
This is an observation exercise, not a laboratory test. It should not involve removing trim, leaning outside, using a flame or blocking a vent to see what happens. The point is to gather clues safely while the room is being used normally. If an opening is damaged or water is entering, arrange proper assessment rather than relying on the timed exercise.
Keep a note on your phone or a piece of paper. A few specific words about location and conditions will be more valuable to a repairer than the broad conclusion that the window is ‘bad’. Now spend one minute on each of the following five checks.
2. Spend one minute checking the opening action
Close the window as you ordinarily would, without forcing the handle. Does the sash meet the frame evenly? Does the latch engage and does the opening feel secure? A window that sits slightly out of alignment can admit air even when its glass and frame remain otherwise serviceable. Stiff movement, a loose handle or a visibly damaged seal is useful evidence.
Look at the meeting edges rather than attempting to adjust them on the spot. A worn gasket, paint build-up or displaced component can change the way an opening closes. In a traditional sash, movement and rattling may point to different repairs from those appropriate to a modern casement. A door has the additional complication of frequent foot traffic and a threshold close to outside ground levels.
Do not interpret smooth operation as proof that the whole opening performs well. A fixed window has no moving sash yet may still have a problem at its perimeter. Equally, a small hardware fault is not in itself a reason to replace the entire assembly.
Write down the exact behaviour: ‘handle stiff’, ‘lower corner does not meet the frame’ or ‘sash rattles in wind’. That description suggests a repair question that can be investigated directly, and it keeps the later decision proportionate to the fault actually observed.
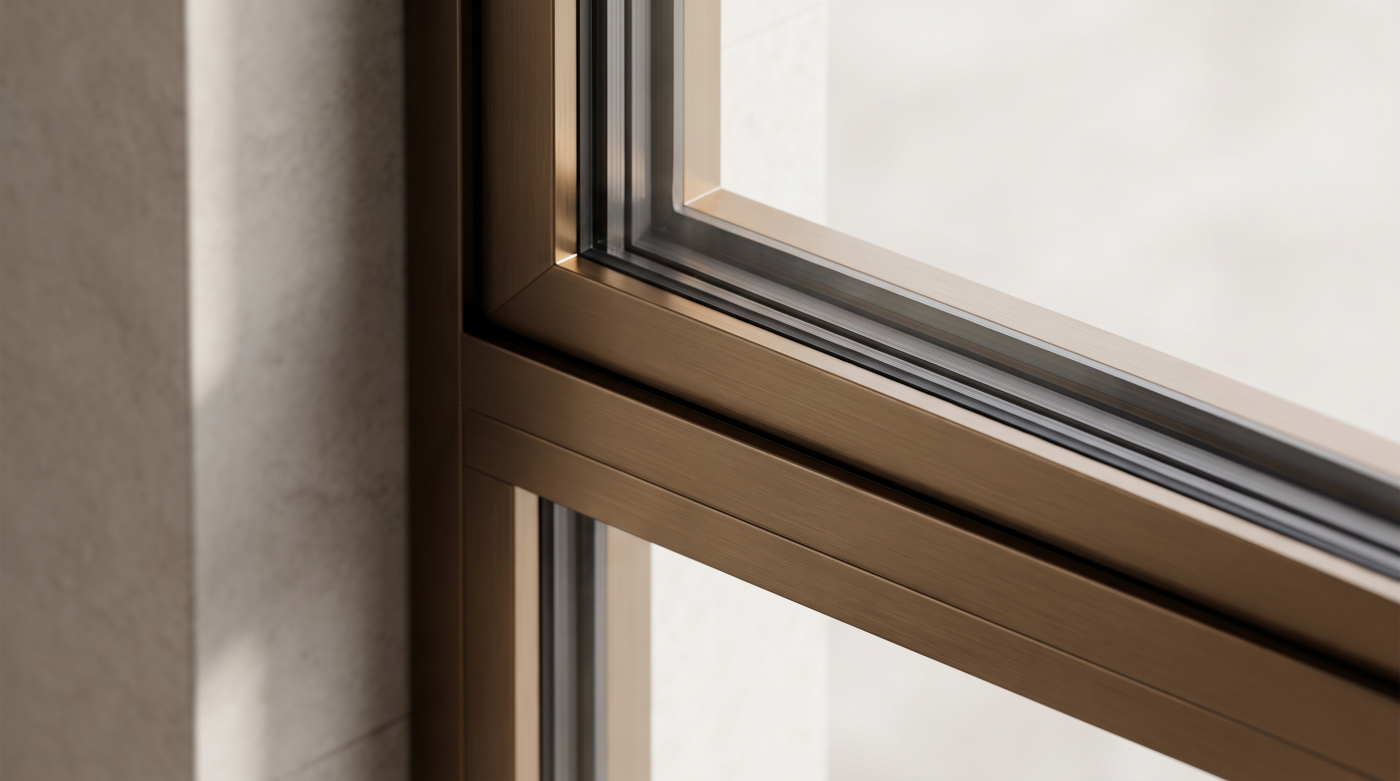
3. Spend one minute locating moving air
Move a hand slowly around the accessible edges of the closed opening. Notice whether the air feels as though it is moving at a particular point, especially along a sash edge, beneath the sill or where the frame meets the interior reveal. Visible daylight through an unintended gap is another clue. Avoid a candle or other flame: it adds risk without turning this brief check into a reliable diagnosis.
The distinction between an opening joint and a perimeter joint is important. Air entering beside a frame may be coming through the installation detail or the surrounding wall. A replacement window fitted into the same defective junction could leave the room just as uncomfortable. Cold felt near the pane, meanwhile, may be a surface-temperature issue rather than a stream of outdoor air.
Observe without sealing anything yet. Some visible openings are designed for drainage or ventilation. A trickle vent can admit planned fresh air at the top of a window, while an accidental gap at floor or sill level may create a much less comfortable flow. They should not be treated as equivalent.
Note the position of any moving air and whether the wind seems to affect it. If the source is not apparent, record that uncertainty. A professional can investigate the whole opening more effectively when given the conditions under which the symptom occurs.
4. Spend one minute looking for moisture
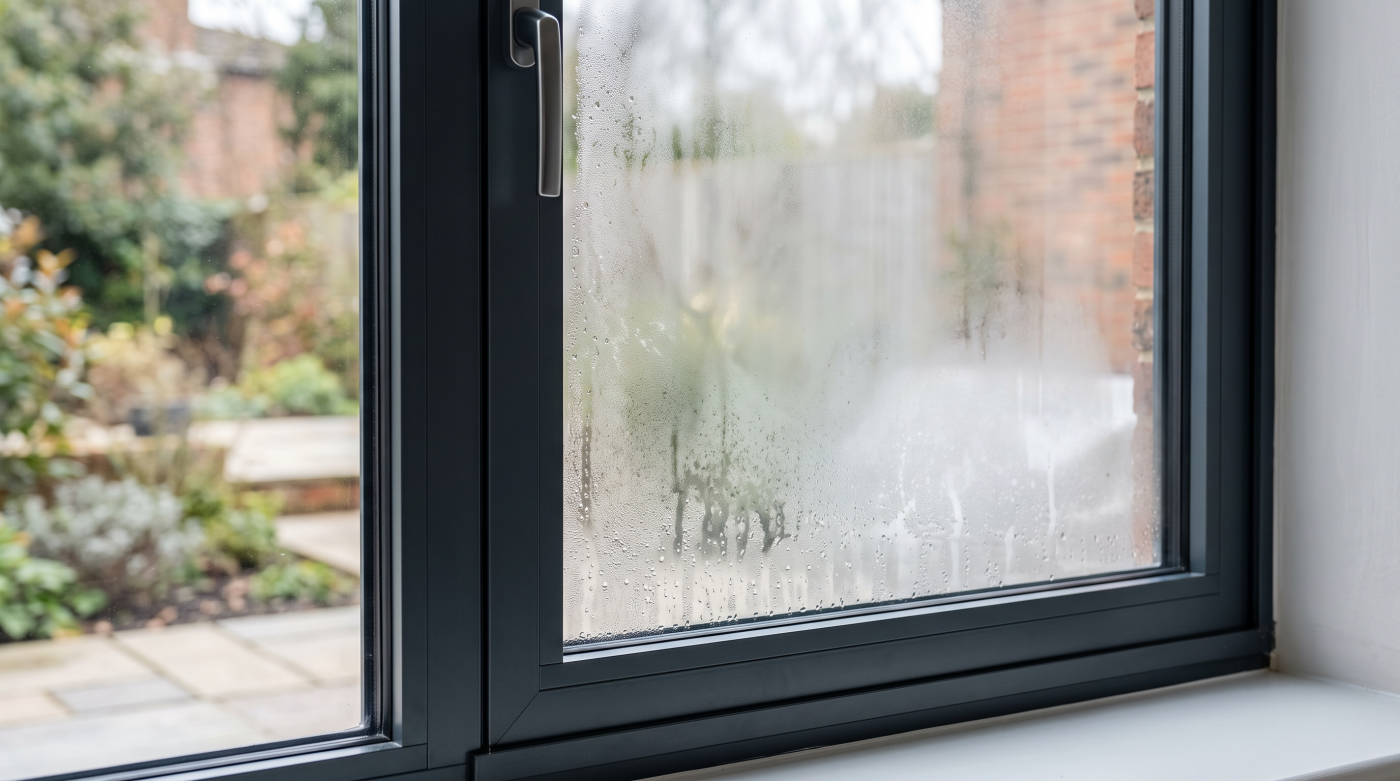
Look at the glass, the sill and the adjoining finishes. Is moisture on the room-facing surface of the pane, trapped between panes, or appearing as a mark in the wall around the frame? These locations suggest different lines of enquiry. Condensation on an interior surface can be related to humidity and temperature. Water staining in a reveal may indicate rain entering from a joint or from elsewhere in the elevation.
Timing matters. A film on the glass after cooking or bathing is different from fresh water appearing only during a particular wind and rain. A stain that has remained unchanged for years is different from one that spreads after a storm. The one-minute check cannot prove the source, but it can help you describe the pattern.
Notice whether the window operates normally and whether finishes feel visibly damaged. Do not scrape back paint or remove covers during this quick review. Water can travel behind a surface and emerge away from its entry point, so a patch directly over the mark may fail to solve the underlying problem.
If water is actively entering, or finishes are deteriorating, protect the room and arrange prompt assessment. Otherwise, make a short note and, where useful, photograph the area for comparison after different weather. The aim is to identify what kind of moisture you have observed before choosing a remedy.
5. Spend one minute checking the surrounding wall
Stand back from the window and look at the full opening. Examine the interior reveal, sill, skirting nearby and any trim that covers the joint between frame and wall. Cracks, staining or a gap at the edge of a finish can matter as much as the visible condition of the sash.
A window is one component within an architectural opening. Its position in the wall determines the depth of the reveal and the surfaces that must be sealed and finished around it. Older walls may be irregular; later repairs may conceal an imperfect joint. If air enters through that junction, replacing only the glass or adjusting the sash cannot correct the whole problem.
Look for patterns without attributing blame. A mark below a sill may result from a drainage problem, an external crack or a defect at the frame. A cold area alongside the opening may be related to the wall construction. The five-minute exercise is designed to recognise these possibilities, not to settle them by touch.
Write down what you can see, and include the side of the opening and its height. A note such as ‘crack at upper right reveal’ gives the next person a clear place to inspect. It also prevents a general complaint about the window from hiding a defect in the surrounding fabric.
6. Spend one minute reviewing ventilation
Before deciding to stop every movement of air, look for the room’s intended sources of ventilation. Is there a trickle vent in the window, a wall vent or a working extract system nearby? Does condensation appear in this room or across several rooms? A comfortable building needs controlled fresh air as well as protection from unwanted leakage.
Energy Saving Trust distinguishes ventilation from draughts: one is a planned movement of air, while the other is uncontrolled. That distinction is especially relevant after insulation or draught-proofing has made a house more airtight. Blocking a designed vent because it feels cool can cause moisture and air-quality problems elsewhere.
The one-minute check is not a ventilation assessment. It does, however, help you avoid a common mistake. If the room is persistently damp, or if you are planning replacement windows, ask how fresh air will be provided after the work. In older houses, changes made over decades may have altered the original balance, so a whole-room view is particularly useful.
Record whether the vent is open, whether extraction is present and any repeated condensation. These facts belong alongside the draught observation. They help a professional decide whether a proposed repair improves comfort without creating a different problem.
7. Interpret the result without jumping to replacement
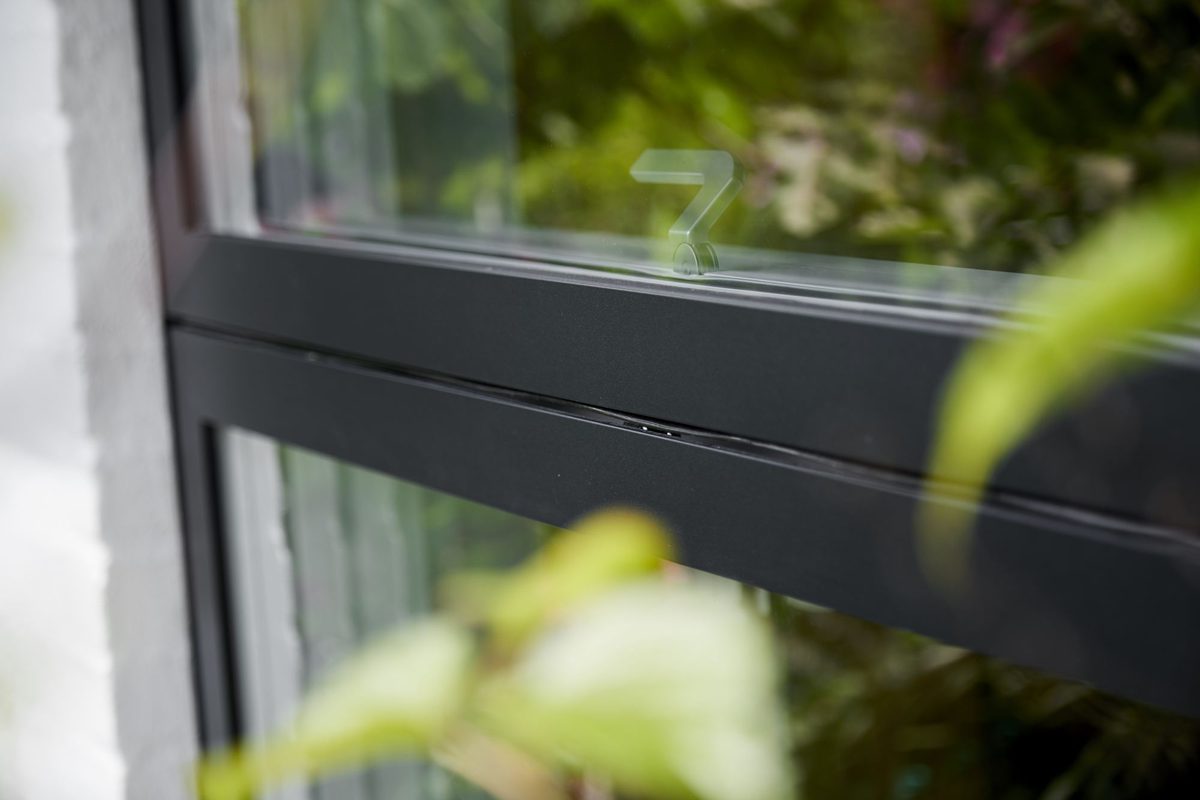
After five minutes, you may have found a window that does not latch correctly, a local movement of air, a recurring damp mark or no obvious fault at all. Each result suggests a next question, not an automatic purchase. A hardware adjustment may restore a sash. A worn seal may be replaceable. A perimeter gap may require work to the surrounding opening.
In an older home, the value of retaining existing windows should also be considered. Historic England advises assessing traditional windows for repair before draught-proofing measures are chosen. A well-judged repair can improve comfort while preserving details that belong to the building’s character.
There are circumstances in which replacement is appropriate: extensive deterioration, repeated failure, or a wider renovation that calls for a different opening. But a single cold sensation cannot tell you which of these applies. Nor can the absence of an obvious draught prove the room’s thermal performance is satisfactory.
Think of the timed exercise as the first page of a brief. It makes the next conversation more specific. Instead of asking for ‘better windows’, you can ask someone to assess a lower sash that fails to close, a cold frame-to-wall joint or moisture that appears after rain.
8. Know when to call for a fuller assessment
Some findings should not wait for a longer observation period. Active water ingress, broken glass, an insecure opening or loose material merits prompt professional attention. Persistent condensation, an unexplained draught or a recurring stain also deserves a more complete assessment, even if no single five-minute check reveals its source.
Share the notes from the room: location, weather, time of day, operation and visible signs. Ask the assessor to examine the window, installation perimeter and surrounding wall together. If replacement is proposed, ask how it will address the observed problem and how ventilation will be maintained. A clear explanation should connect the remedy to the evidence.
For a house with several uncomfortable rooms, consider whether each opening has a local fault or whether a wider fabric and ventilation review is needed. The answer may lead to a sequence of modest repairs, a planned upgrade or a more substantial design project. The scale of work should follow the pattern found across the building.
A five-minute test is valuable precisely because it is limited. It can make a homeowner more observant without pretending to replace skilled diagnosis. The result is a better starting point for work that preserves what is sound and improves what is not.